
DIYcorate Your Way to Christmas

The holiday season is upon us, and what better way to embrace the festive spirit than by creating your own personalized Christmas decorations? Transform your space into a winter wonderland with these easy steps that not only promise stunning results but also guarantee a fun and enjoyable crafting experience.
Here's what you'll need:
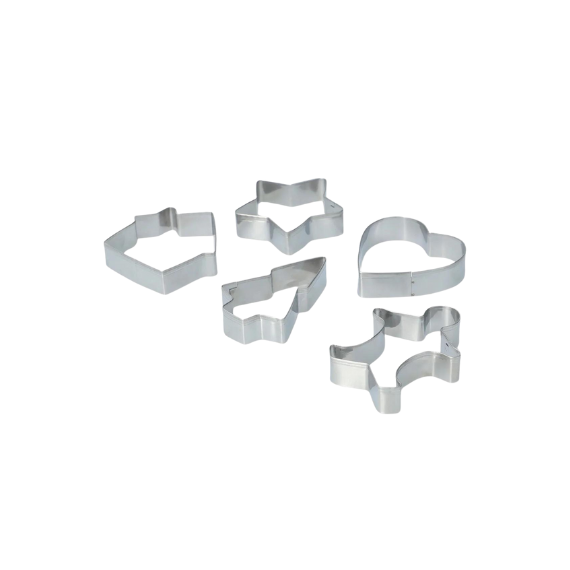
Cookie Cutter
source: Amazon

Modeling Dough
source: Tiger
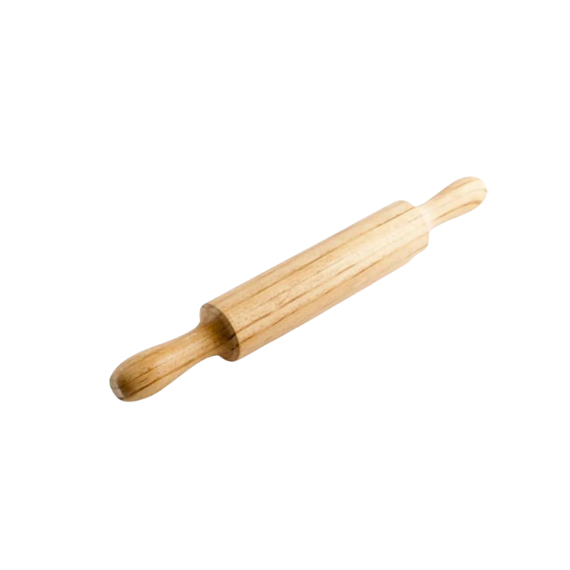
Rolling Pin
source: Hôma

Pencil
source: Amazon
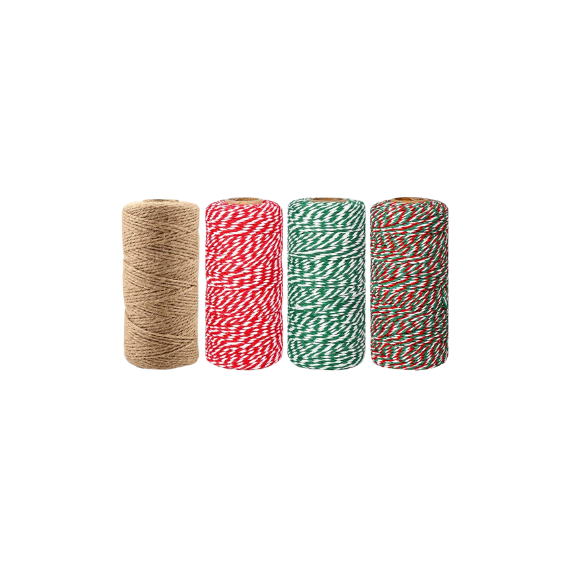
String of your choice
source: Staples

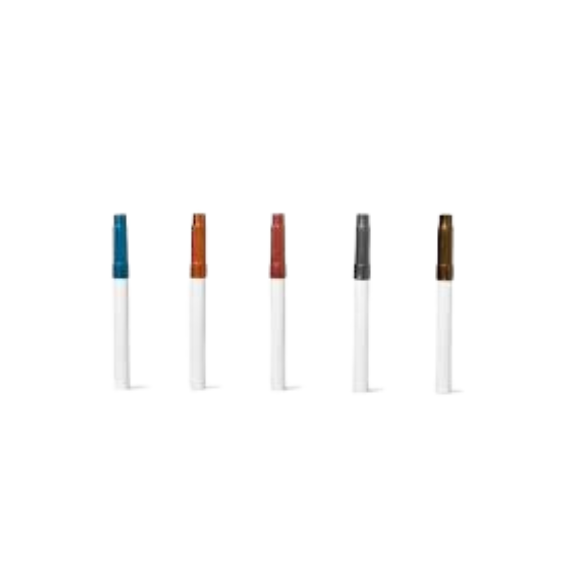
Acrylic markers
source: Tiger
Cookie Cutter
source: Amazon

Modeling Dough
source: Tiger
Rolling Pin
source: Hôma
Pencil
source: Amazon
String of your choice
source: Tiger
Acrylic Markers
source: Staples
Step by step instructions:
Step 1:
Begin by unwrapping a portion of the molding dough from its packaging, ensuring to seal the remainder tightly to prevent it from drying out. Take this malleable material and shape it into a ball, setting the stage for your creative journey.
Step 2:
Grab your trusty rolling pin and embark on the next step – flattening the dough until it reaches a delicate thickness of approximately four millimeters. This process sets the canvas for your festive masterpieces, ensuring a smooth and refined foundation for your artistic endeavors.
Step 3:
Now comes the time to give life to your creations. Select a biscuit tin of your liking and press it firmly against the dough, forming enchanting shapes that will soon adorn your holiday haven.
Step 4:
Remove any excess dough, leaving behind only the meticulously crafted molds. Don't discard the extra material; instead, use it to create additional decorations or store it. The possibilities are as endless as your creativity!

Step 4:
Remove any excess dough, leaving behind only the meticulously crafted molds. Don't discard the extra material; instead, use it to create additional decorations or store it. The possibilities are as endless as your creativity!
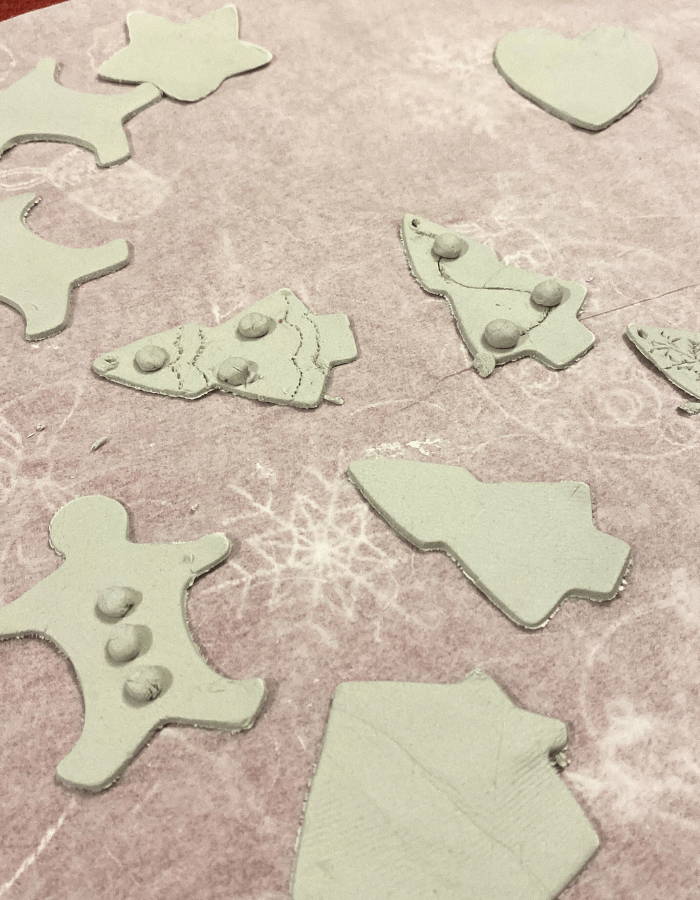
Step 5:
With a simple tool like the tip of a pencil, create small holes in each of your molds, ensuring there's ample space for the string to gracefully pass through.
Step 6:
Allow your creations to air-dry for approximately half a day, adjusting the timeframe based on the ambient room temperature.
Step 7:
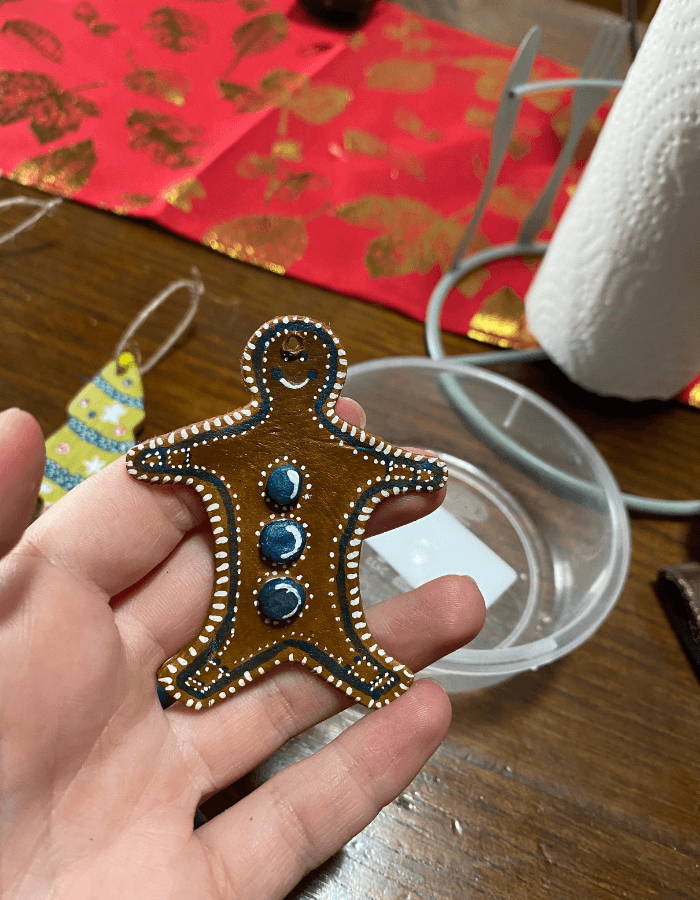
Bring your creations to life. Once dry, it's time for the magic to unfold! Let your artistic flair shine by using acrylic pens to infuse your Christmas pieces with vibrant colors and intricate details. Watch as each stroke of the pen transforms your plain molds into dazzling ornaments.
Step 8:
The final step is here – attach a string to each ornament and proudly hang your creations on the Christmas tree. Revel in the satisfaction of not only decorating your space with unique pieces but also in the joy that comes from crafting something truly special with your own hands.
For more fun content:
Discover over 100 independent brands.
30-day returns & exchanges.
New shipping rates to selected countries.